Picture Perfect
You would agree with me that framed paintings and pictures make a room more appealing to the eye due to their colorful and sentimental nature. Indeed, pictures are known to add splendor to our living spaces and make walls come to life by providing a distinctly personal touch. Yet, some homeowners express reservation in tackling the job of hanging pictures on the wall, possibly due to the lack of appropriate hardware and expertise. Others are unable to pull off the job due to a real or perceived fear that they will end up damaging the walls. Although these concerns are valid, there exist excellent tips for hanging pictures on the wall that such homeowners can use to ensure success.
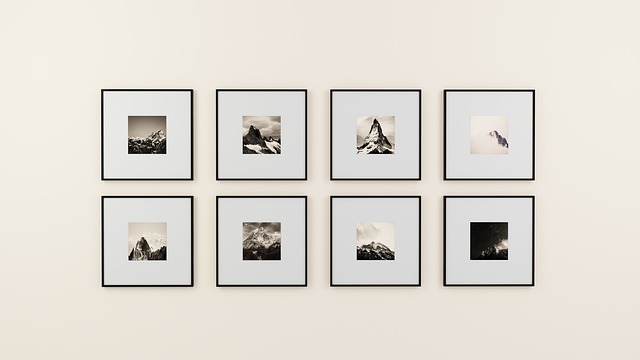
The first set of tips revolves around finding the appropriate location to hang the pictures. Here, it is important to ensure that the middle of the picture must correspond to the eye level to ensure maximum engagement and visibility. Additionally, it is preferred to leave a substantial space of at least three to six inches between the uppermost part of the couch and the underside of the picture frame to ensure adequate visibility. Pictures expressing similar themes should be treated as a single unit and hanged side-by-side within the available space so that they are able to convey a story. Finally, it is always important to ensure that the location selected to hang the pictures is not exposed to direct sunlight and high humidity.
The next set of tips allows homeowners to develop skills and competencies on how to mark the wall. Here, homeowners desiring to achieve the best results should use a painter’s tape to splotch each end of the picture’s frame. If the picture or painting will use a single hanger, it is important to pinpoint the midpoint of the tape by dividing its full width into two. The midpoint is where the hanger will be fastened to the wall, thus ensuring that the picture will have perfect balance. If the picture is placed on a wide frame, it is advisable to use two hangers that are halfway from the midpoint with the view to ensuring the stability of the picture.
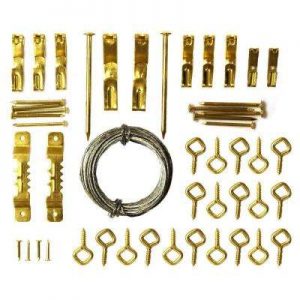 The last set of tips entails choosing the right hardware, whereby homeowners should have adequate knowledge on the estimated heaviness of the picture, the nature of hanging hardware fastened on the frame, the composition of the wall, as well as whether the wall hanger will be fastened to a stud. Here, it is important to understand that traditional metal picture hooks are excellent when paired with lightweight frames with built-in wire, while screws and nails achieve excellent results when paired with sawtooth and D-rings picture frame hangers. However, if the hanging hardware is designed in such a way that it attaches to a wall stud or some form of wood paneling, homeowners are free to use any hanger provided it carries the weight of the picture and can be fastened to the picture frame without damaging it.
There are many other tips for hanging pictures on the wall. For example, homeowners should first drill a pilot opening on the wall before fastening the nail or screw to prevent the wall from damage. Additionally, to ensure that the picture does not deface the wall and is able to achieve a perfect balance, homeowners should put self-adhesive rubber bumpers on the base points of the picture frame before it is finally hanged on the wall. Overall, these tips are of immense importance when it comes to hanging pictures on the wall.